PrestaShop is a feature-rich, open-source eCommerce solution which you is used to run stores in cloud or via self-hosting.
Payment Gateway Integration in PrestaShop
What is PrestaShop?
PrestaShop with Paytm
Integrating your PrestaShop site with Paytm allows you to accept payments using Paytm Payment Gateway. You can accept payments via Debit Card, Credit Card, Netbanking (supports 3D Secure), UPI or Paytm Wallet.
Before you begin to integrate the Paytm Payment Gateway on Prestashop webstore, make sure you have a registered business account with Paytm. To create the same, refer to the section Generate your API Keys.
Generate your API keys with Paytm
To generate the API Key,
- Log into your Dashboard.
- Select the API Keys under Developers on the left menubar.
- Select the mode for which you want to generate the API Key from the menu.
- Click Generate now to generate a key for the test mode and in case of live mode, first activate the account by submitting documents and then generate the key by clicking the Generate now button.
- You will get the merchant ID and merchant key in response to the above. Please make a note of these to be used further.

Note:
- You have to generate separate API Keys for the test and live modes. No money is deducted from your account in test mode.
- MID and merchant keys generation may take few minutes. In case you do not see these details, please logout and login after 5 minutes. Proceed now to generate these keys.
This module offers smooth integration, allowing the customer to pay on your website. It works across all browsers and ensures compatibility with the latest version of PrestaShop.
Installation
-
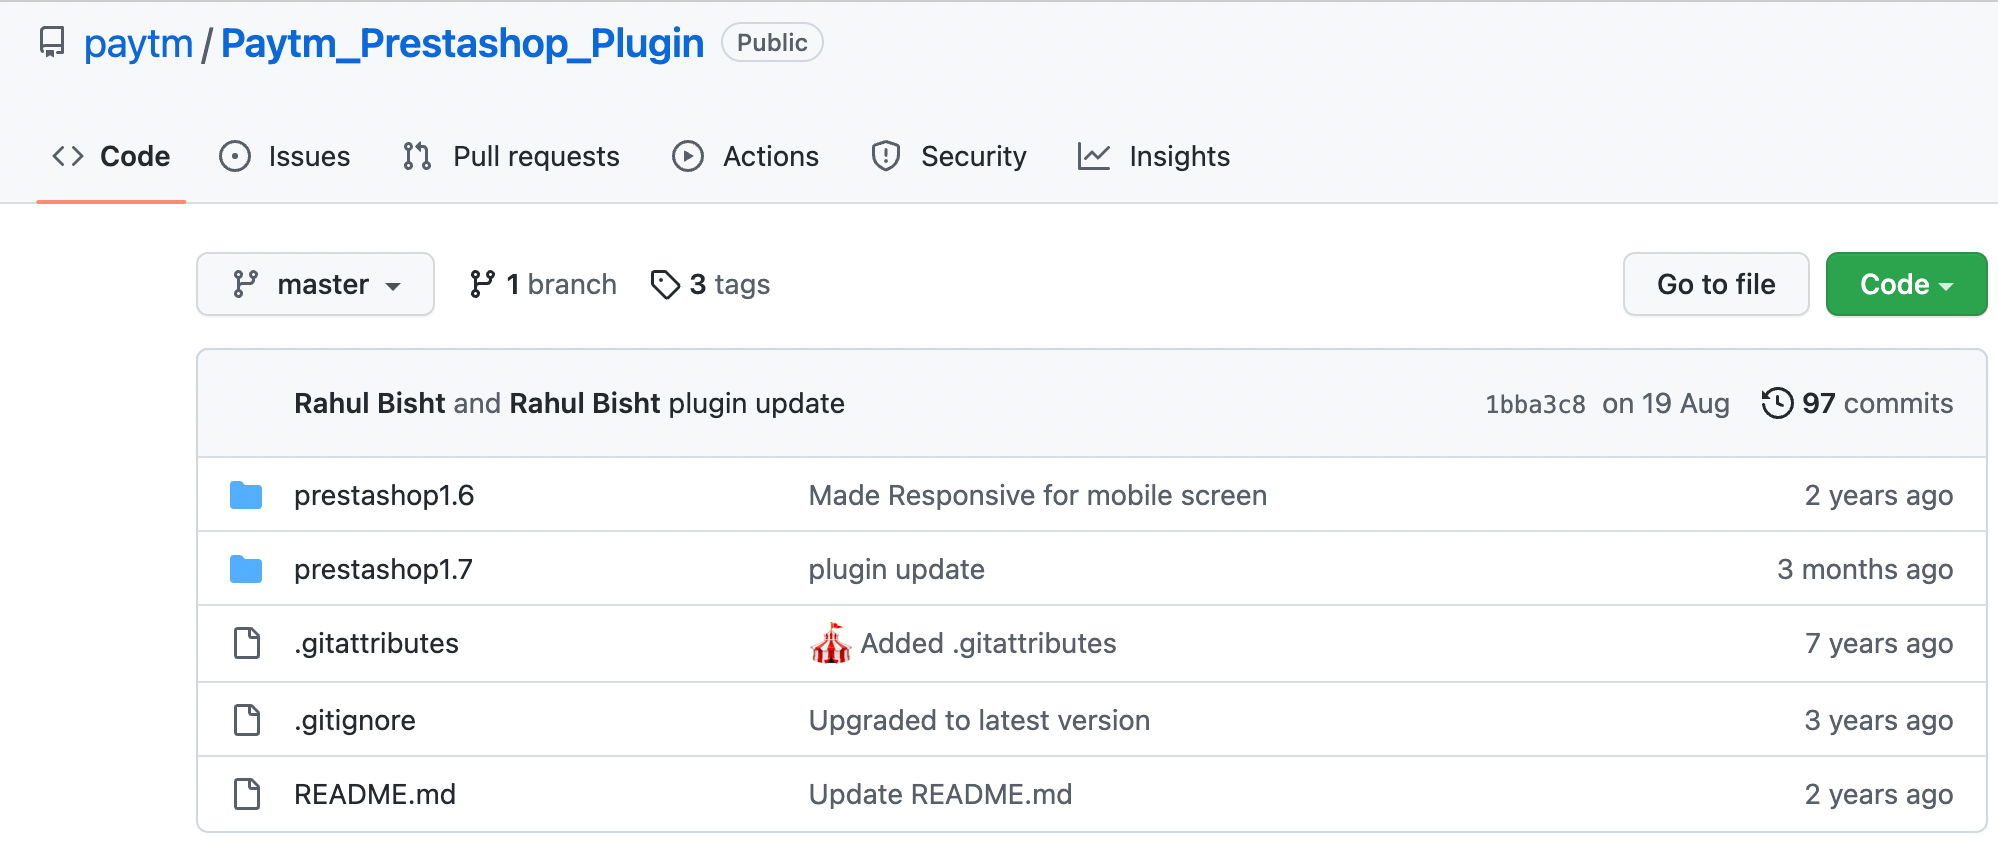
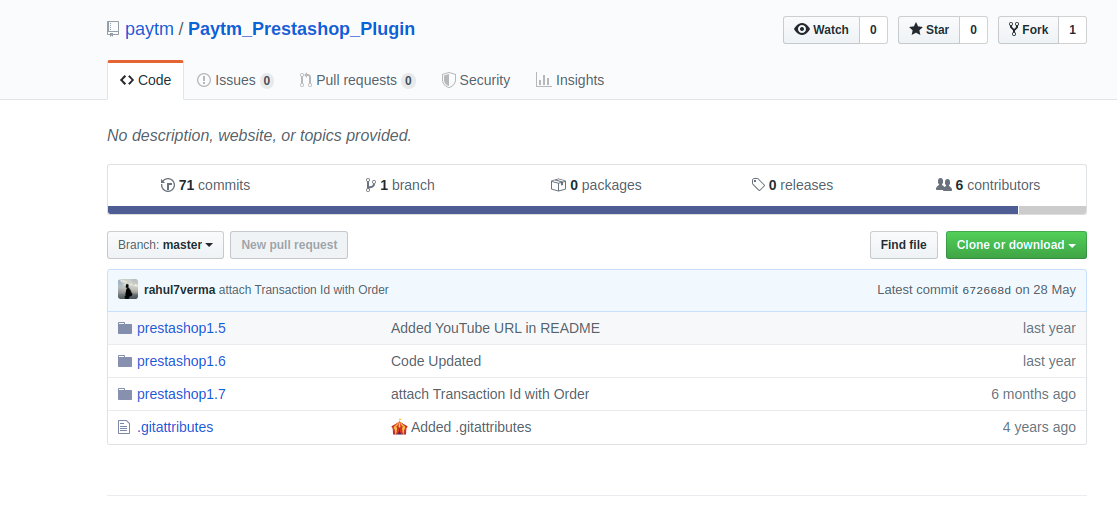
Download a ZIP of the repository from here.

-
Unzip the folder.
-
Login to PrestaShop Webstore Admin.
-
Navigate to the Modules tab and click Upload a Module.

-
Click select file to open the dialogue box letting you search your computer.
-
Select the unzipped folder and select paytm.zip folder from prestashop 1.7 folder and then click OK or you can also extract the downloaded folder (paytm.zip) and then paste this folder (paytm) in Modules folder under PrestaShop Webstore root folder.
-
Go to Modules from admin and click the Selection tab.
-
Find the Paytm module there and click the INSTALL button.
Configuration
Note: This plugin supports EMI Subvention and Bank offers, please reach out to us through Contact Us or your KAM to enable EMI Subvention and Bank Offers for your MID.
- Login to PrestaShop Webstore Admin.
- Navigate to the Modules tab.
- Search for Paytm in the list of modules and then click Configure to configure the module.
-
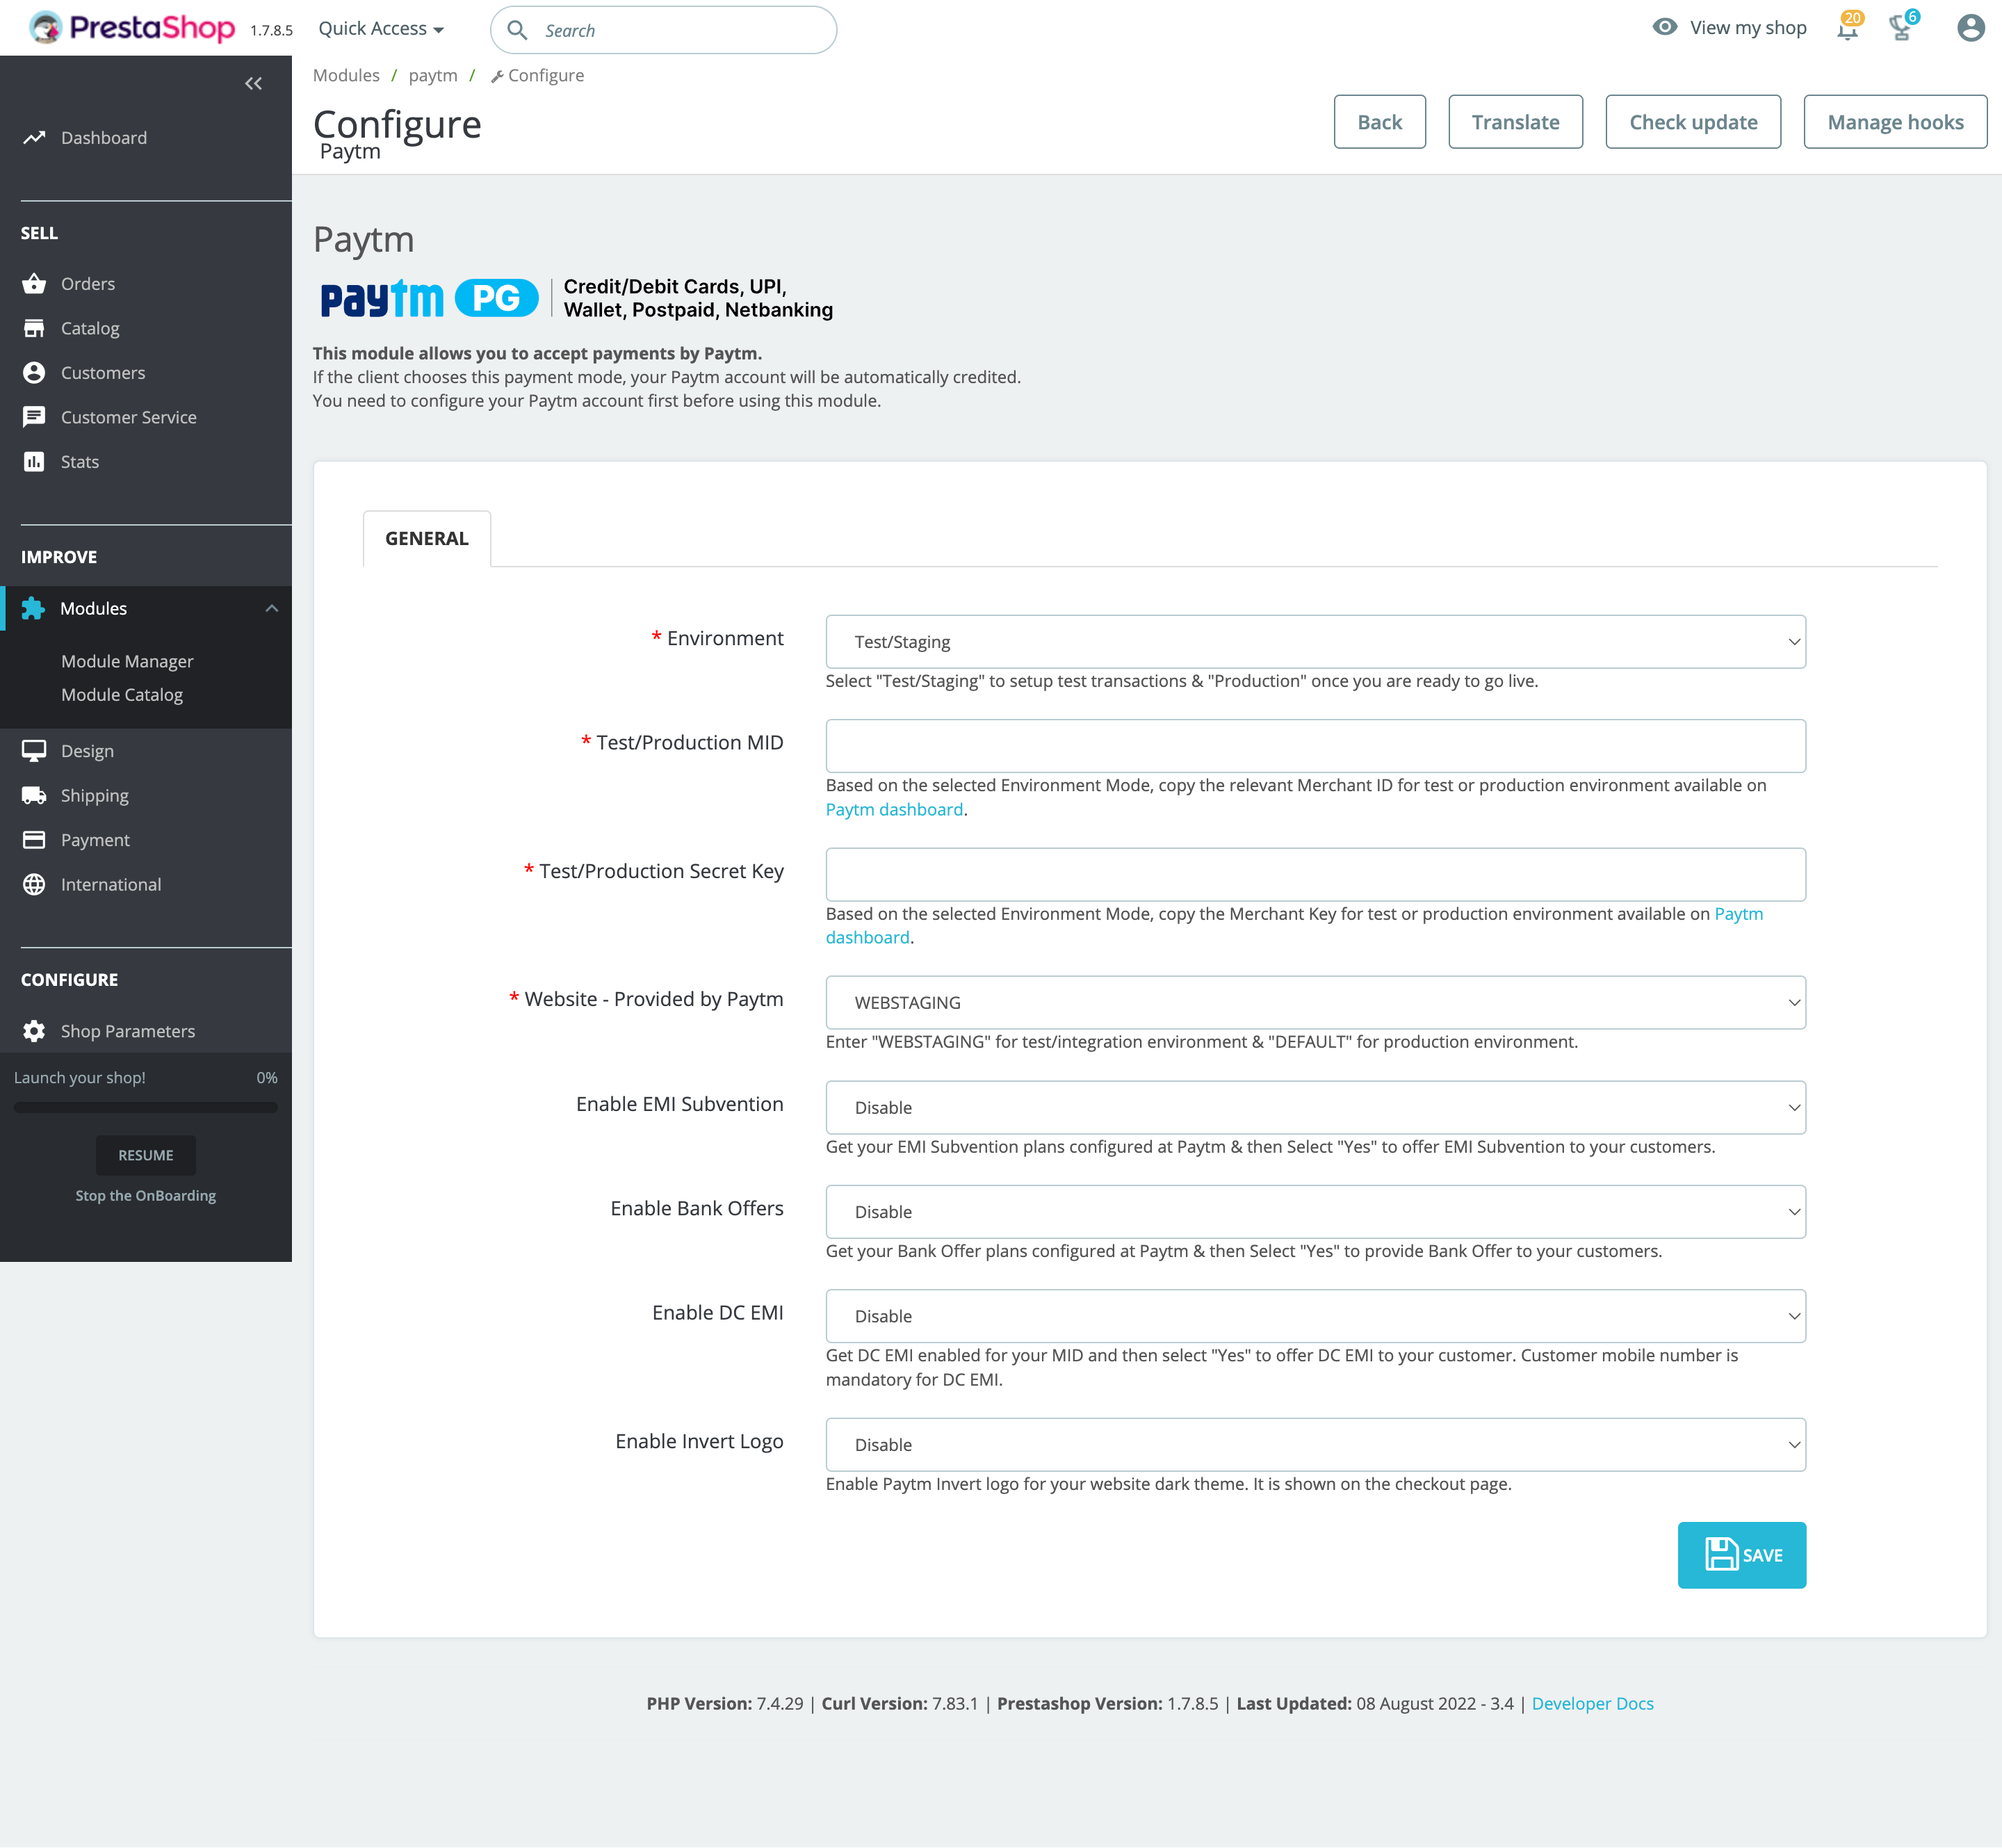
Fill in the following credentials.

Note:You can refer the Merchant Dashboard for these details.
- Environment: Select the type of environment: Test/Staging or Production
- Test/Production MID - Enter your Merchant ID for test or production environment
- Test/Production Secret Key - Enter your Merchant Key for test or production environment
- Website - provided by Paytm - Enter your Website Name provided by Paytm
- Enable EMI Subvention - Select "Enable" to provide Zero/Low cost EMI
- Enable Bank Offer - Select "Enable" to provide Bank Offers
- Enable DC EMI - Select "Enable" to provide EMI on Debit Card
Note:This plugin supports Debit Card EMI, send us the user mobile number in order to check the user’s Debit Card EMI eligibility and show the applicable banks name.
- Enable Invert Logo: Enable it to use Paytm's invert logo for your website


